Wheel Truing – from Mitsubishi Electric Research Labs

You can find the craziest bits of information in the strangest places.  There is no question that the late Sheldon Brown’s website is the go-to site for bicycle technical information on the internet.  However, clearly there are other repositories of cycling wisdom out there too.  What I didn’t expect was to find an extremely articulate article on wheel truing posted to – get this – the Mitsubishi Electric Research Laboratories website.  No kidding…  If the internet is great for only one thing, it is trails of breadcrumbs just like this.
Keep reading →

How to measure your bike frame

Bikes – and especially bike frame – are often referenced by a size, like 56cm or 27 inches.  For those “in the know” this is a good approximation to indicate if a particular bike will generally fit you.  While this may not be all that critical when you are in a bike shop and can actually throw a leg over the bike, this number can be important when you are looking on Craig’s list, for example.  So what does this number actually mean??

Keep reading →

Mounting tail lights on bikes

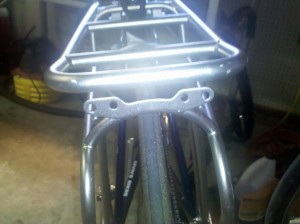
Closeup of European (Tubus) rack with integrated 80mm & 50mm mount point

Nearly every bicycle tail light sold seems to come with hardware to mount it to the seat post, and observation would show that is in fact the most common location for people to put them.  However, if you put a cargo rack on the back of your bike, this location can become impractical for a number of reasons.  The rack itself may block visibility of the light from the rear of your bike.  And if not, any cargo you may actually want to carry on the rack surely will.

Keep reading →

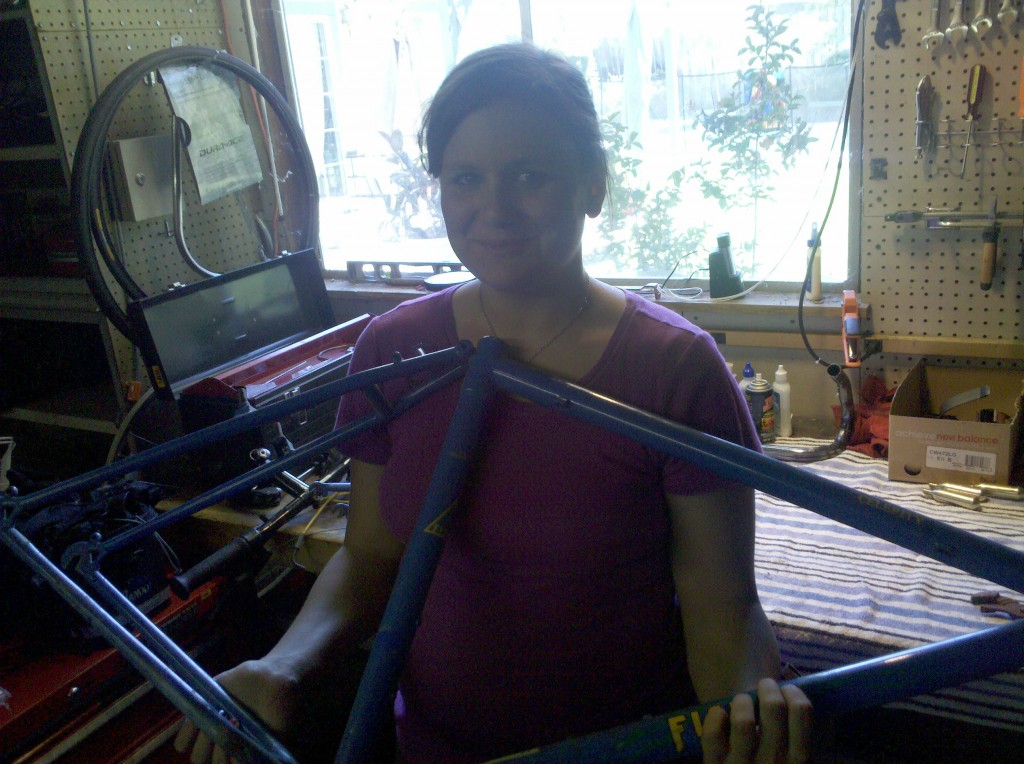
Chloe strips the Fisher frame

Chloe finally got to get her hands dirty as we stripped off the old running gear from the Fisher mountain bike for our singlespeed build project.  She’s biting at the bit to get her hands on the grinder and knock off the cantilever brake mount points.  I may just have to claim jurisdiction over that operation.

Chloe holding her frameA couple of folks have already asked how I plan on mounting the brakes – especially the rear one.  In truth those details haven’t been totally worked out.  It may require a little custom-bracket making.  I’m giving serious consideration to actually moving the rear brake down to the chain stays instead of the seat stays.  We’ll see…

Single speed project for my daughter

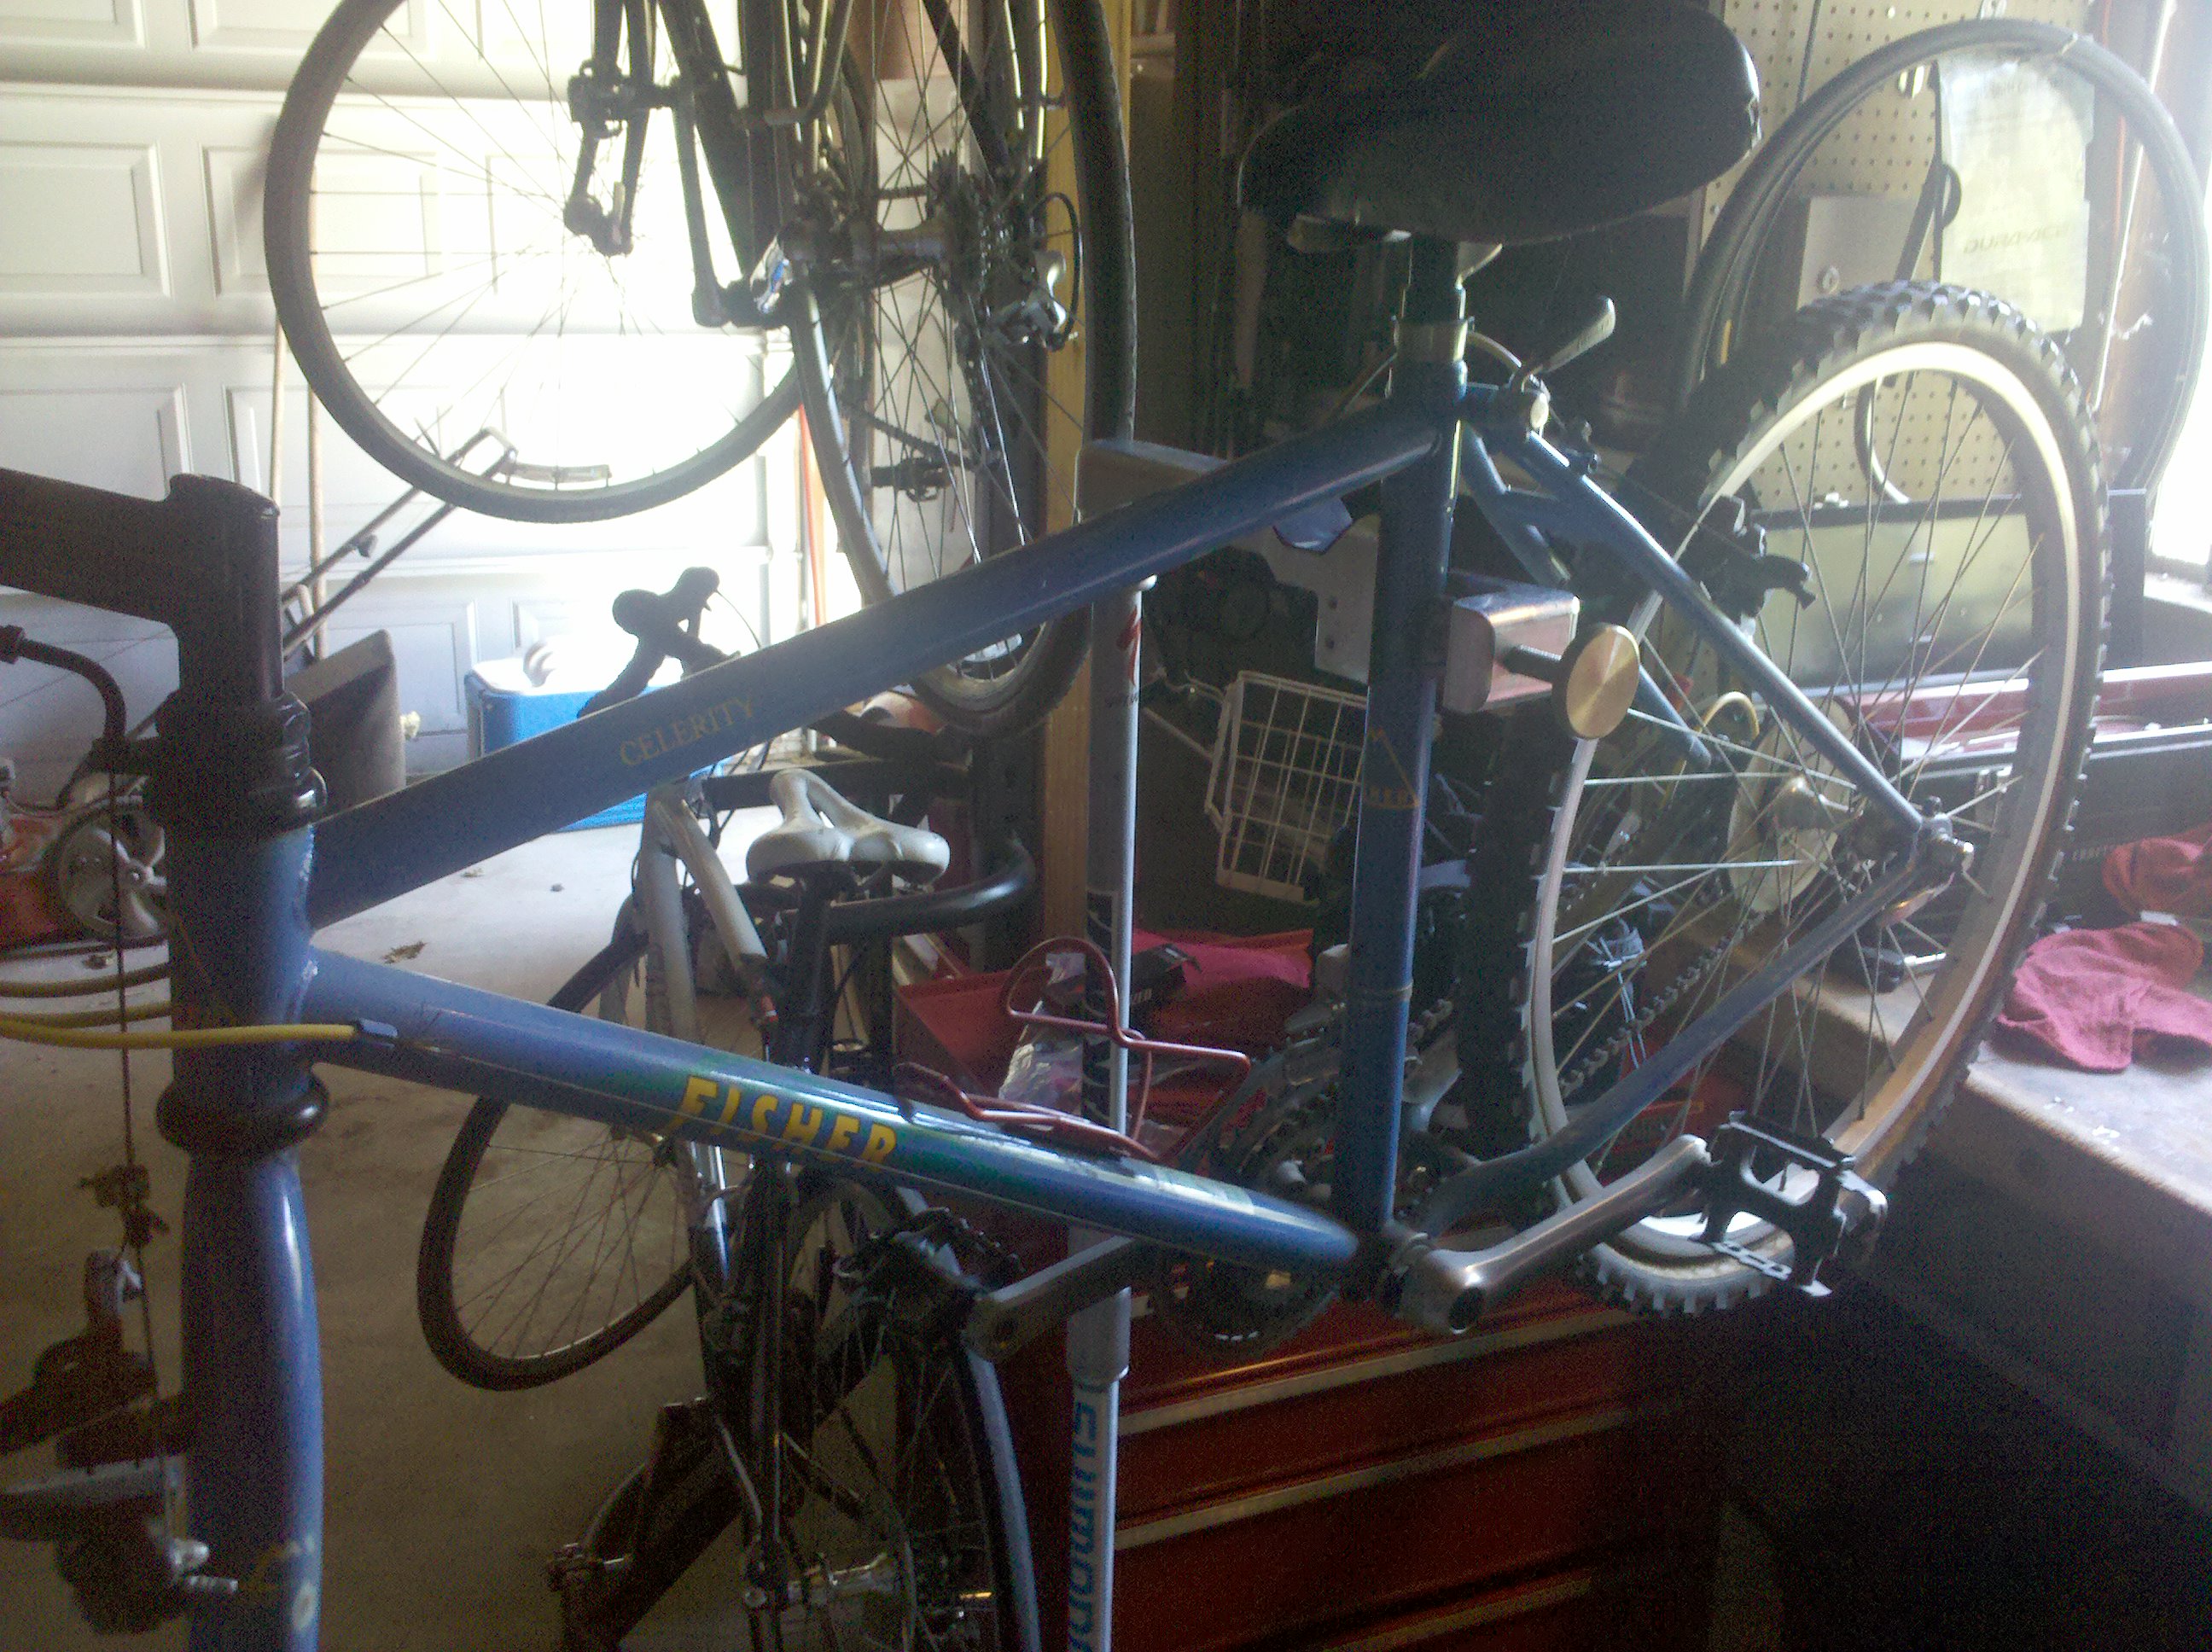
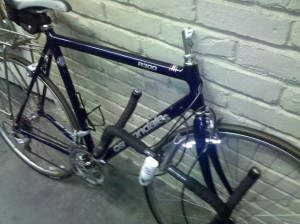
Just picked up this “gem” at a garage sale for $15:

Fisher on Work Stand

I think we’re going to try and make this into a single speed (non-fixed gear) for my daughter.  She is itching to become “all mechanical” and really get her hands dirty working on a bike.  This particular frame seems like a good candidate because: Keep reading →

Quill stem conversion

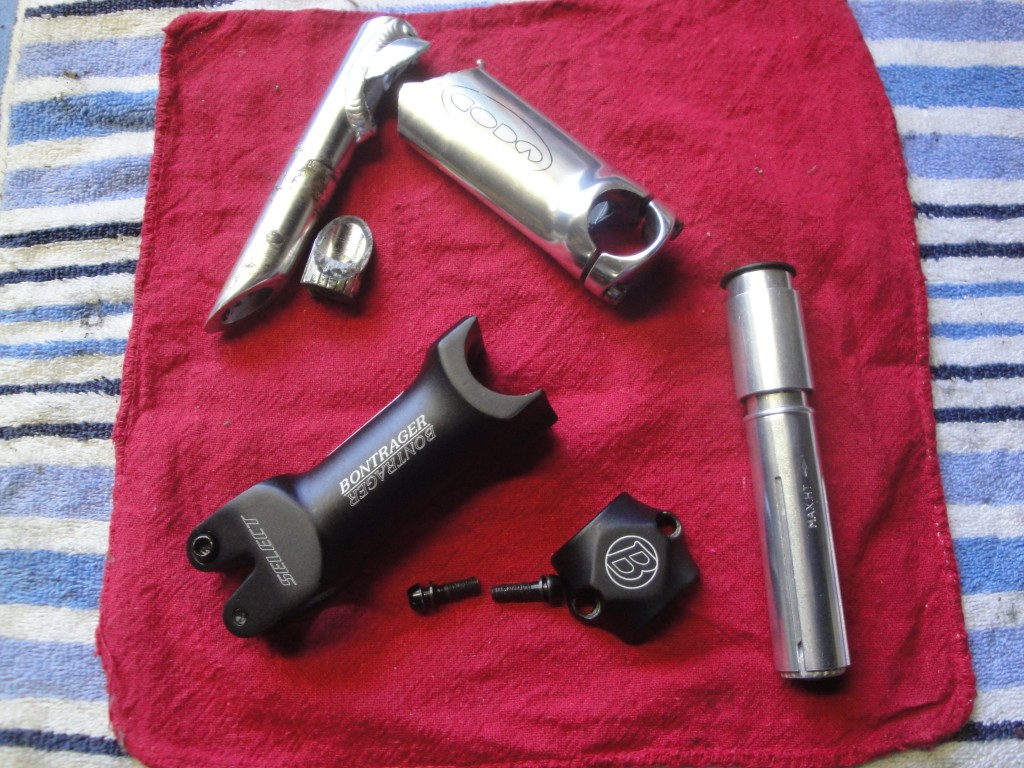
Not too long ago, over on VeloReviews.com, I was casually discussing the possibility of swapping out my forks and quill stem for a threadless set.  My initial intent was to replace my aluminum forks with a carbon fiber set and change the stem type at the same time.  Well, turns out that conversion got expedited when I ripped my stem apart while riding home from work.  With something of a timeline looming over me (this bike is how I get to work) I opted to move forward with the a conversion of the quill stem by using an adapter to allow the use of a threadless stem.  The forks will remain the same.

In the top of this picture you can see the pieces of the original broken quill stem.  On the bottom, the more modern Bontrager stem pieces.  And finally, on the bottom right, you’ll see the adapter that will allow me to mount that Bontrager stem. Keep reading →

Tip: Keep your bike parts attached!

It was a normal commute home. I’d gotten off the train, was making my way home, warm night, light traffic. There were an unusually large number of folks riding their bikes too. It was sometime around 9:00 or so.

View Larger Map

That’s when I found myself at the intersection of W and 11th, heading towards Riverside Blvd.  I go through this intersection a lot, so I know the timing of the lights on this particular stretch of road.  If I hit the pedal really hard and sprint all the way to Broadway, I can just make it through the light at Broadway and Riverside Blvd.  I’m feeling kinda spry tonight – so I’m gonna shoot for it.  I’ve got a perfect track stand going – no need to be delayed by clipping into the pedals.  I’m totally gonna make this light.

As soon as the light turns green, I’m hard on the pedals.  One revolution – I’m in a fairly high gear, so sorta slow launch.  Push harder.  Two revolutions…  Three revolutions…  Bike is leaning hard to the left.  Wait… What?  I’m on the ground! I’m on the ground!  How the hell did that happen?

I’m in the middle of the intersection, laying on my elbow. A car slowly moves around me through the intersection, so my immediate thought is to get out of the road. I start to stand up and realize that I’ve still got the “sprint grip” (not to be confused with the “death grip”) on my bars. And that is when it hits me. I’m standing up with the bars in my hands, but the bike is still laying on the ground. The freaking bars are no longer attached to the stem.

At intersection, immediately after incident

Apparently I apply a fair amount of force to the bars when I attempt to sprint. I’d snapped the quill stem completely apart right at the weld point. Seriously something of a predicament. I had about 5 miles or so to go to get home. Walkable maybe, but not an easy walk. Especially difficult with a broken bike. Clearly I’ve got to call the SAG wagon for help. Or, as the rest of you may know her, my wife. Only problem is – no answer. Ummm… what do I do now?

D’uh! You take pictures and post them to twitter!

Well crap. Now how do I get home??? http://twitpic.com/2bpr49

Ok – then I try and call SAG… er, I mean my wife… again.

I get an answer this time, and she is already getting ready to come and get me when she asks, almost as an afterthought, “What happened?  Are you OK?”

“I kinda ripped my handle bars right off my bike.”  I reply, trying to make the situation sound all the more dramatic.

“Oh.”  That’s pretty much the full response.

Well, a few minutes later the car, complete with all three kids, arrives at the gas station just past the intersection where “the incident” took place.  The kids seem pretty excited about the fact that my handlebars are all the way down by the hub of the front wheel – hanging by the cables and swinging around aimlessly like a broken limb.  I manage to get the bike on the roof of the car and, after making a couple of half-hearted attempts to somehow contain the swinging handlebars, decide that we’re not going that far or fast so it’ll be just fine.

It's just a scratch...

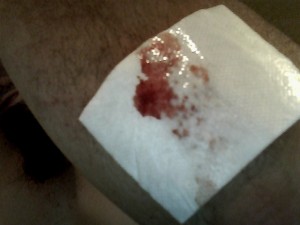
We get home and Melissa helps dress my elbow.  There was a small patch of abraded skin that was bleeding all over the place but not especially painful.  The fact that the whole thing happened after just a couple of pedal strokes was nothing short of amazing luck.  Things could have been a whole lot uglier if I’d crashed after I’d gotten up to speed.  Road rash is not something to look forward to.  However, the bar had been set pretty high in the “crashes won’t stop me” category, so I scrubbed out my elbow abrasion extra hard – just because.

On the ride home in the SAG wagon the Prius, I actually realized that just a couple of days earlier I’d heard a creak coming from the bars when I took off from a light.  At the time I didn’t give it much thought as it is not entirely uncommon for the bars or stem to creak as bolts slowly loosen up over time.  In retrospect, though, it was likely a harbinger of the eventual failure.  If only I’d recognized it as such.

One somewhat coincidental part of the whole thing is that I’d already been planning to get rid of that stem for different reasons.  Might have to expedite that project now.

Time for a new cycle computer

Well, it looks like my Polar CS100 cycling computer will need to be replaced soon.  I’ve been using it for 2 years now (or is that 3?) on 3 different bikes.  I’ve used it to monitor my speed, cadence and heart rate.  While it has been a good unit for the most part, there are a couple of issues that have cropped up.

Keep reading →

Hint: Fulcrum Racing clip for pawls is the same on all of the wheels

This one killed me at first.  I broke the retaining clip that holds the pawls of my Fulcrum Racing 7 freehub.  It would sometimes take me a full revolution of more to get the pawls to extend enough via centrifugal force to engage and move me forward.

I bounced from local bike shop to bike shop trying to find a replacement part that wouldn’t take one to two weeks to arrive.  After identifying the two shops of a dozen or so in my area that actually sold Fulcrum, only one had a clip that was “only for Fulcrum Racing 1, 2 or 3” according to the guy in the shop.  Things didn’t look promising for me.

But then I decided to go poke around the Fulcrum website.  I was very pleasantly surprised to find that they had complete parts lists there, along with the catalogs and user manuals (user manuals for wheelsets??)

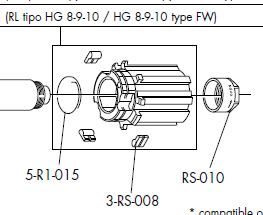
Well, much to my surprise – and quite despite what the one guy that had a clip in stock told me – all of the wheelsets had the same part number.  There it was – good ol’ 5-R1-015.  Didn’t matter what wheel.  Didn’t matter if the hub was Campy or SRAM/Shimano.  It was the same part number.  Happy days!

Unfortunately when I found this out it was too late to drive back to the shop that had the clip.  Besides, it was about 30 miles or so away and I didn’t really want to make the trip.

On the advice of others, I tried a shop in Sacramento that I’d never been to before – Ikon Cycles (also on Facebook).  The guy was quite helpful.  He also didn’t have on in stick (D’oh!) but… he said he would call his supplier and call me back.  Sure enough, 30 minutes later he called me back.  His news – he’d have one for me the very next day.  Sure as hell beats the 7-14 days the other shops were talking about.

I understand that shops can have difficulties getting specific parts from suppliers.  But the guy at Ikon was super helpful and seemed to know what he was talking about.  And he didn’t even blink about taking the time to order a part that retailed for less than 5 dollars.  Awesome customer service.  I definitely know where I’ll be calling first for parts from now on.

For any others interested, I’ve included a copy of the  Fulcrum Wheels 2009 Spare Parts Catalog – just in case.

Inspecting carbon parts after a crash

Like most things high performance, carbon fiber has its benefits and its drawbacks.  Benefits, of course, include things like increased strength to weight ratio, stiffness and vibration dampening.  Drawbacks include the fact that abrupt strikes, such as the forces that occur during crashes, can result in internal cracks to the structure. These cracks can cause components to ultimately fail.  Unlike steel or even aluminum, these cracks can be non-obvious, and are not repairable.

Therefore it is very important that your carbon fiber parts be inspected after crashes.  Of course you should always have this done by a qualified professional, as a failure of a frame, fork, bars, or other component while riding can result in serious injury or death.

Slight cosmetic damage to brake levers

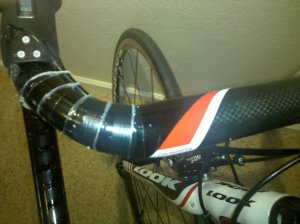
I recently had such an experience (documented in high-definition point-of-view glory) that resulted in my FSA CarbonPro Compact bars striking the ground rather abruptly.  I definitely wanted to give the bars a detailed inspection.  The visible damage was fairly minor – abrasions on the tips of both brake levers, and some ripped tape.  However, the very thought of the possibility of the bars failing while I was riding definitely warranted the cost of a new roll of bar tape and an hour of my time.

So of course this whole process began by stripping off the existing bar tape.  In this case – because I wanted to inspect the bars both visually and by touch, I actually took the time to clean off all of the glue left over on the bars.  Always be careful of any solvents around carbon fiber parts – keeping in mind that the entire part is basically a petro-chemical mold.  I prefer either rubbing alcohol or a citrus-based cleaner for heavy-duty carbon degunking like this.

Interesting side note – if you look closely at the photo of the stripped bar, you’ll see something funny.  Notice how that trademark “carbon fiber weave” look stops about where the bar tape started?  Now why would that be?  Well, the dirty little secret of carbon fiber bike parts is that in almost all case, that weave look is completely cosmetic only.  Folks have become so used to carbon fiber parts looking like that they often don’t believe it is even carbon fiber unless they see it.  The truth is the actual structures that give carbon fiber its strength in bike applications are pretty much never this cross over weave.  That’s why it stops where the bar tape starts – you can’t see it under the bar tape, so there is no real reason to continue it down there.  That carbon fiber weave has no more purpose than the painted on logos elsewhere on the bars!

So now to the actual inspection.  I was looking initially for any visible lines in the material – the part should be consistently smooth and glossy over the entire bar.  I actually did find one small line in the the left hand drop and employed the “thumbnail” test.  The idea here is that if you drag one of your finger nails across the mark, you should not feel anything if it is just a scratch.  However, if you can feel your nail “catch,” you’re probably dealing with something much more significant.  In my case, I can’t feel it at all – so it is a pretty safe bet it is just a scratch, perhaps something that happened during the assembly of the bike.  To check even further, I put most of my weight down in the drops.  If this were an actual crack, that pressure would cause it to widen and be even more likely to catch my nail.  Still no catch, so I move on.

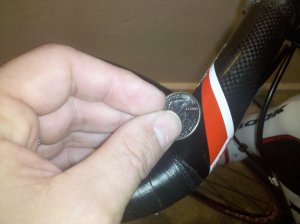
Using a quarter to help in locating any possible cracks

The next technique I used involved a very specialized tool – a quarter.  Carbon fiber tubing will make a distinctive tink sound when you bounce a quarter on it.  However, internal cracks will actually interrupt the continuity of the carbon fibers and result in more of a dead thud type sound.  My bars produced a beautiful tink from one end to the other.  Literally music to my ears.  Crashing is bad enough – having to drop a few hundred duckets to replace your bars is just pouring salt into the road rash.

There are a couple of benefits from being forced through this exercise.  First off, this is a perfect time to get some lube on the cables coming out of the controls.  Secondly, you may have noticed that the bar tape that shipped with my bike didn’t cover the top of the bars at all.  Presumably this was to show off the wonderful “CarbonPro” logos that were painted there.  However, it meant that casual riding on the tops meant my hands were right on the slippery, hard bare carbon.  Well, I’m not nearly as motivated to make sure the logo is visible as the company was, so I’m free to extend the wrap all the way up to a more normal length.  This was always something I wanted to do, but I didn’t feel justified in ripping off the perfectly good bar tape just to get it up higher.  Now I’ve got my excuse.